
I just picked up a Pioneer Avic U310-BT double din radio/cd/ navigation unit. This thread will show you how to install and operate it.
It has alot of awesome features. Much more than your average GPS/NAV radio. Bluetooth Connectivity, USB, Ipod/Iphone interface, handsfree cellular, and the ability to read SD cards are built in. HD and satellite radio are available with additional hardware.
I will go further into detail about some of those features later on in my review.
First off we will start with the install. You will need a few tools that most of you have around the house or garage. They are phillips and flat screwdrivers, a small socket set,and wire stripper/ crimper.
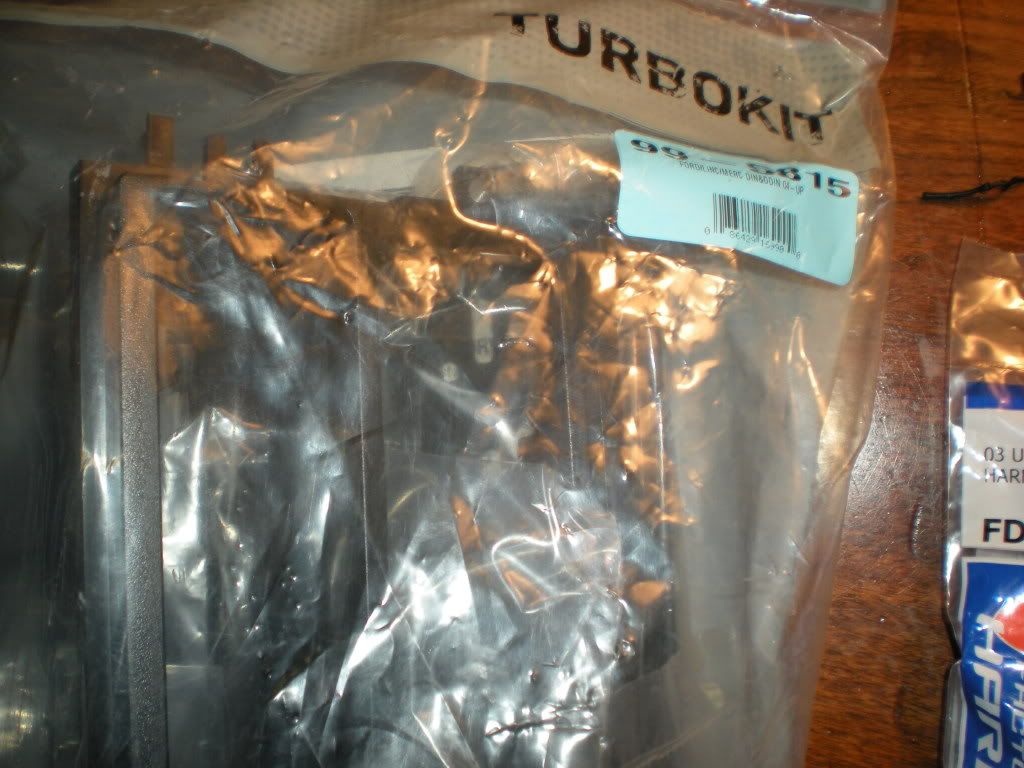
The next things you will need for the install are a wire harness and dash installation kit ,that can be picked up at best buy or just about any location that sells car audio equipment. The cost of these two items will run about $30. These items are pictured below
![Image]()
![Image]()
Since I will be installing the unit in my 06 Ford Superduty. I picked up the Schosche FDK11B wire harness. This is the one to be used with the 03 up ford trucks. Also the Metra kits Ford dash kit. For this install however we will only be using a few pieces of the dash kit.
When you purchase these dash kits they generally come with every piece available to install any size audio receiver into any vehicle. All I will be using today are the pieces necessary to install a Double DIN unit.
Step one unpack the new unit and scosche wire harness.
Then strip about a half inch of insulation off of the ends of the wires on the scosche harness.
The harness is clearly labeled as to which wire does what.
There are different ways to go about this. I used crimp caps. You can use those, butt connectors or solder and heat shrink your connections.
Most audio companies use an industry standard today. Pioneer is one of them. What you will be doing is color matching the wires between the two harness and crimping or soldering them together.
What I do is crimp them together a section at a time. I will do all the speakers as one set neatly. And zip tie them together as a group.
Then I do all the power connections and also zip tie them together as a group.
In my install the will be a few wires on the scosche harness that are not used. They are the power antenna, Amplifier remote power lead and a few other ones for the steering wheel remote. What I do with those is cut the bare ends off the harness and also zip tie them together in a group.
There is also a light green wire on the pioneer harness thats about 6 feet long. It is used to be tied into the parking brake positive connection.
Doing this provides for a clean install.
![Image]()
Next I open the dash kit and assemble the parts necessary for the double din stereo install.
![Image]()
Then I attach it to the head unit using the 8mm screws supplied with it.
![Image]()
It has alot of awesome features. Much more than your average GPS/NAV radio. Bluetooth Connectivity, USB, Ipod/Iphone interface, handsfree cellular, and the ability to read SD cards are built in. HD and satellite radio are available with additional hardware.
I will go further into detail about some of those features later on in my review.
First off we will start with the install. You will need a few tools that most of you have around the house or garage. They are phillips and flat screwdrivers, a small socket set,and wire stripper/ crimper.
The next things you will need for the install are a wire harness and dash installation kit ,that can be picked up at best buy or just about any location that sells car audio equipment. The cost of these two items will run about $30. These items are pictured below

Since I will be installing the unit in my 06 Ford Superduty. I picked up the Schosche FDK11B wire harness. This is the one to be used with the 03 up ford trucks. Also the Metra kits Ford dash kit. For this install however we will only be using a few pieces of the dash kit.
When you purchase these dash kits they generally come with every piece available to install any size audio receiver into any vehicle. All I will be using today are the pieces necessary to install a Double DIN unit.
Step one unpack the new unit and scosche wire harness.
Then strip about a half inch of insulation off of the ends of the wires on the scosche harness.
The harness is clearly labeled as to which wire does what.
There are different ways to go about this. I used crimp caps. You can use those, butt connectors or solder and heat shrink your connections.
Most audio companies use an industry standard today. Pioneer is one of them. What you will be doing is color matching the wires between the two harness and crimping or soldering them together.
What I do is crimp them together a section at a time. I will do all the speakers as one set neatly. And zip tie them together as a group.
Then I do all the power connections and also zip tie them together as a group.
In my install the will be a few wires on the scosche harness that are not used. They are the power antenna, Amplifier remote power lead and a few other ones for the steering wheel remote. What I do with those is cut the bare ends off the harness and also zip tie them together in a group.
There is also a light green wire on the pioneer harness thats about 6 feet long. It is used to be tied into the parking brake positive connection.
Doing this provides for a clean install.

Next I open the dash kit and assemble the parts necessary for the double din stereo install.

Then I attach it to the head unit using the 8mm screws supplied with it.


